Homemade Beeswax wraps are easy and fun to make. They make nice homemade gifts too! My daughter loves to help me make them. I needed to re-wax one that I made a while ago and wanted to make more as well, so why not share it with you?!
This post may contain affiliate links. Read full disclosure here.
Beeswax wraps are a great substitute for Saran Wrap, or plastic wrap. (Do you call all plastic wrap “Saran Wrap” too, or just me? LOL.)
Plastic wraps can leach harmful chemicals into your food. Now, I am not a purist by any means; we do eat MacDonald’s (more than I care to admit), and I still use sandwich bags/freezer bags for some things. And aluminum foil. And fly dope. Well okay, you get what I mean, LOL.
So why on Earth take the time to make beeswax wraps when I still do all that other stuff? Because it’s something. And It’s fun. I don’t have to worry about running out of Saran wrap anymore. And it is a project I can do with my kids while we talk about how cotton is made and how cool bees are. I would love to do a radical over-haul on my home and use natural alternatives for everything. I am doing things, little by little. Some things, like cooking from scratch and using cast iron I have been doing my whole life. Others, like beeswax wraps, have been recent changes. New habits are more sustainable if we add them little by little than if we tried to go all out in one shot. If you are able (financially and time-wise) to make healthy swaps all at once, go for it! That would be so cool!
What do you need to make beeswax wraps?
Well, first you need some cotton. Cut some clean, 100% cotton into squares, circles or rectangles. You may want to use your mixing bowls or anything you want to cover with the wraps to measure how big to cut the cotton. This is a GREAT time to use up some scraps from your sewing basket, if you have any. Or you can buy cotton in colors that match your kitchen, or that simply just catch your eye.
Next, you’ll want pinking shears. Pinking shears are the scissors that cut a “zig-zag” pattern into the cloth rather than straight cut like regular scissors. This keeps the fabric edges from fraying without needing to hem them. If you don’t have pinking shears, you most likely won’t need to hem the cloth, as the wax does a decent job of preventing it from fraying.

A new, clean paintbrush. I use a natural bristle pastry brush, it works well too. You don’t want something that you’ve used with paint or stain before, as those contain chemicals you do not want in contact with your food. That is the whole point here, after all.
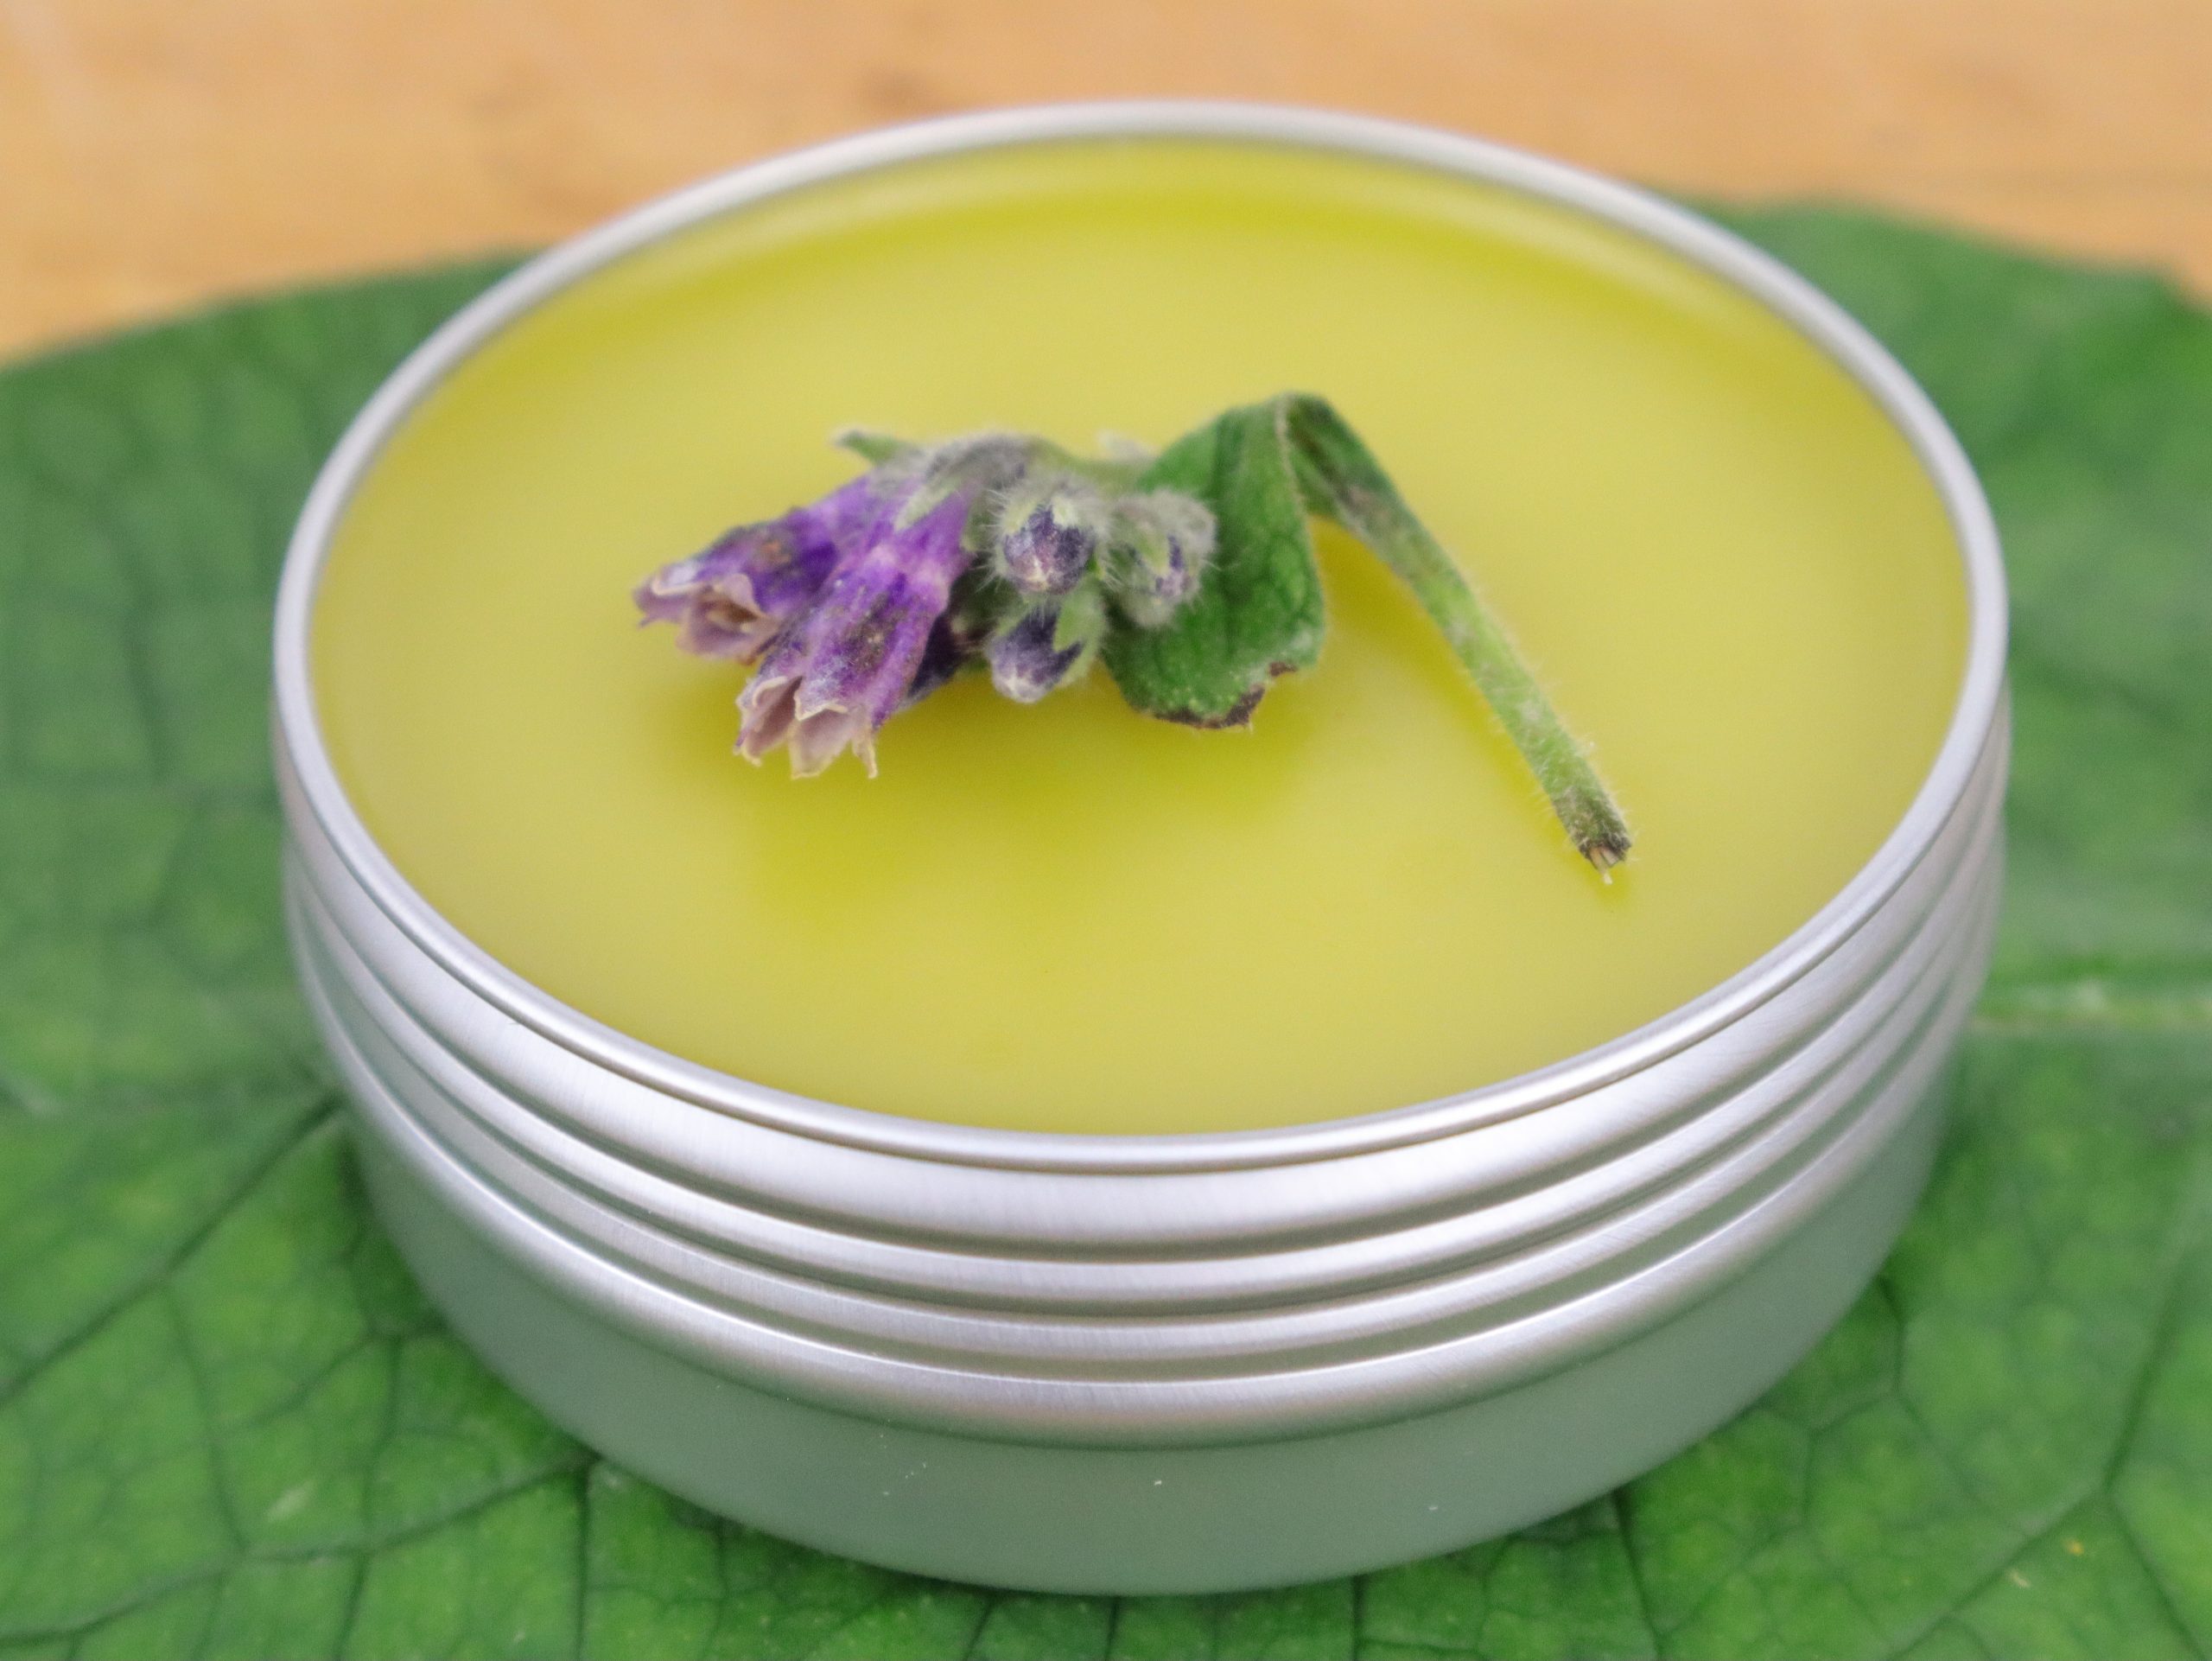
Also, pure-100% pure beeswax. As I mentioned in my comfrey salve post, you have to be careful when buying beeswax online. Companies are allowed to market it as “pure” even if it only contains 55% pure beeswax, making the remaining 45% up with a cheaper alternative, such as paraffin, etc. The link I have at the bottom of this post is in fact, pure beeswax.
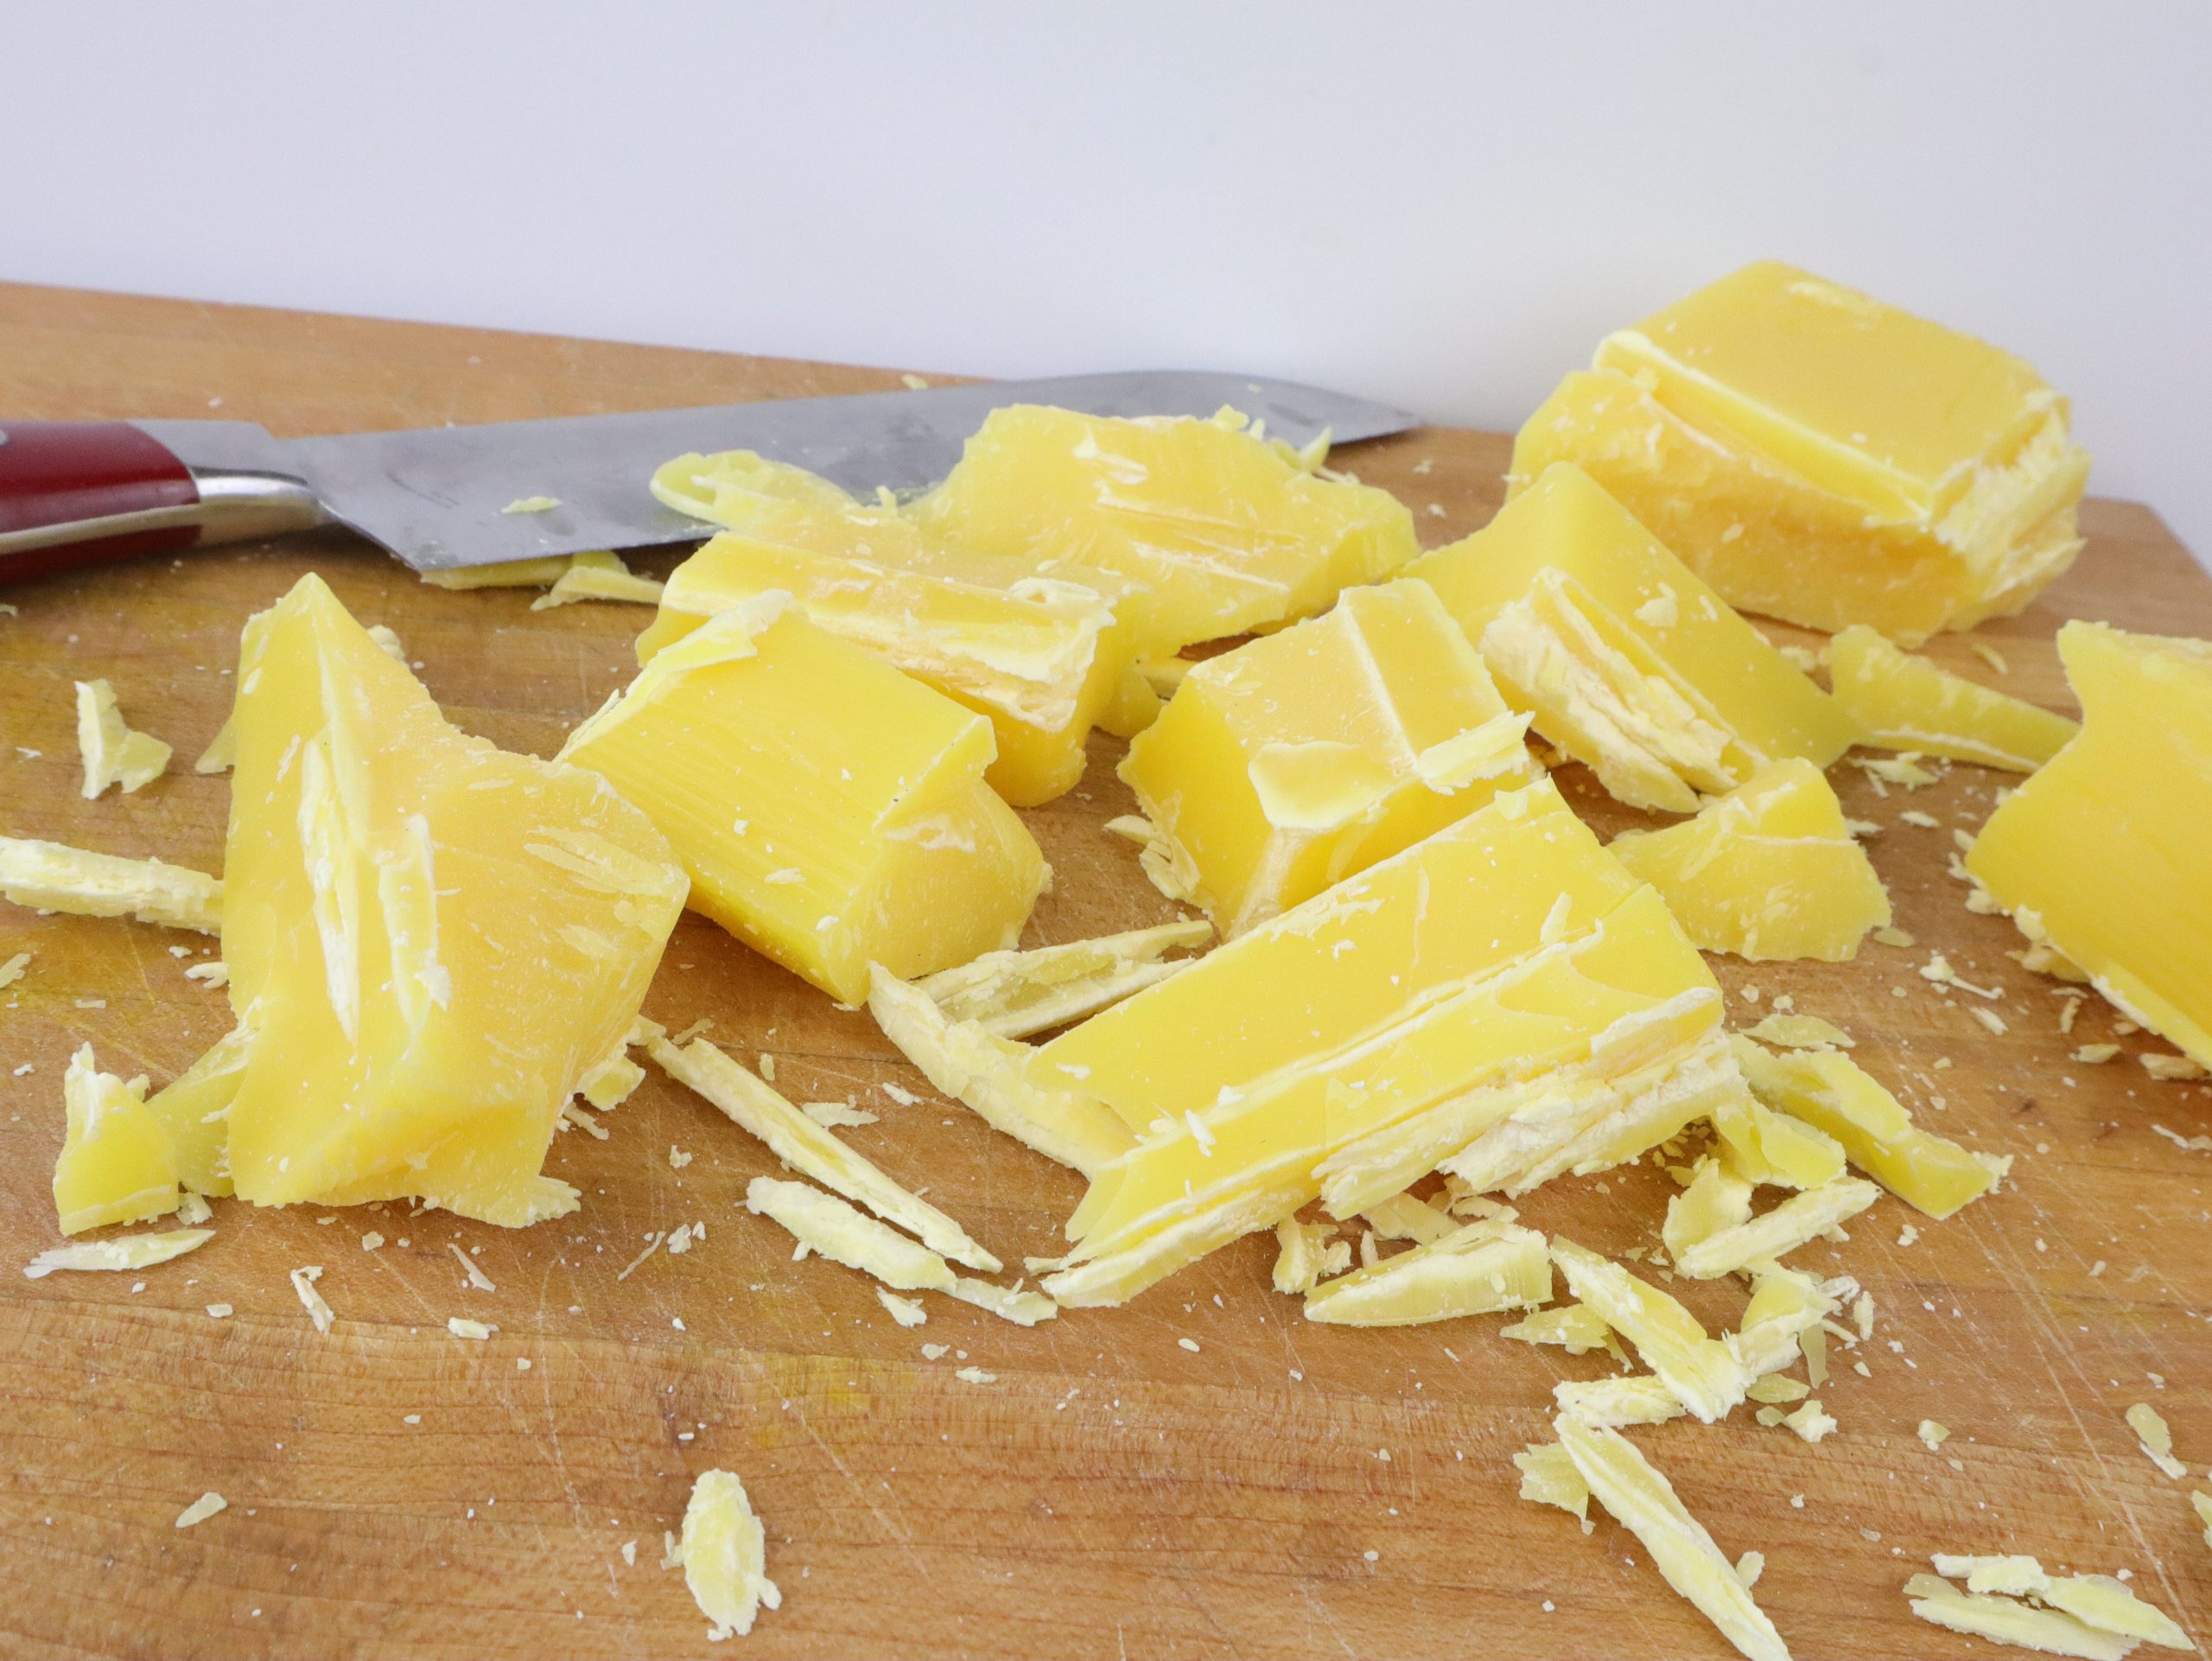
You can get beeswax in either blocks/chunks or grated. I find the pre-grated is worth the little extra you pay for it. Beeswax isn’t the easiest thing to grate.

Lastly, you’ll want an old baking sheet. If you don’t have an old one, you can use your regular ones (that’s what I do) it just takes a bit of effort to get the wax off of the pan when you’re done.
~To Make Beeswax Wraps~
Cut your cotton to the size you want with pinking shears. A full “fat quarter” seems big enough for covering small to medium, maybe even some large mixing bowls. A 13″x 13″ square is about right for a large “sammich” wrap. If cutting with regular scissors, you can get away with not hemming them right away, as the wax seems to keep it from fraying, but you may want to eventually.
Place your cotton on the baking sheet and sprinkle on the grated wax, try to distribute somewhat evenly. If your cotton is too large to all fit on the pan it is okay to fold it to fit. Just be sure to melt wax on both sides and spread it well to cover all your cloth when it’s unfolded.

Pop the baking sheet in the oven on low heat. WATCH YOUR WAX. Don’t go making phone calls or watching Judge Judy, stay in the kitchen and check the wax frequently. It melts fast.

When the wax is melted, pull the baking sheets out, and using your brush smooth out the wax evenly on the cotton. You may find you need to sprinkle more wax in some areas and heat it again. Once the cotton is all covered in wax, carefully pick the cotton up by two corners and gently “swing” it back and fourth in the air to cool it quickly. Ta da! You now have your own Saran- I mean beeswax wraps! Happy wrap making and take care.

Leave a Reply